
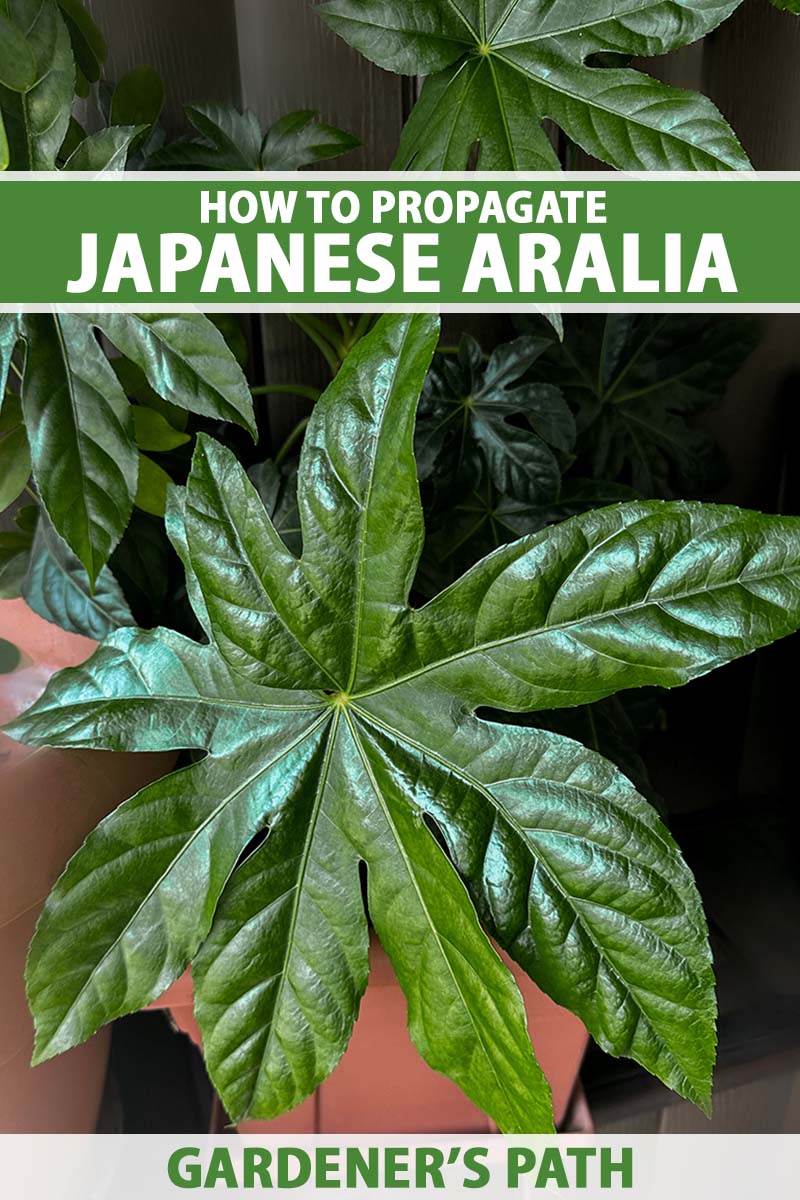
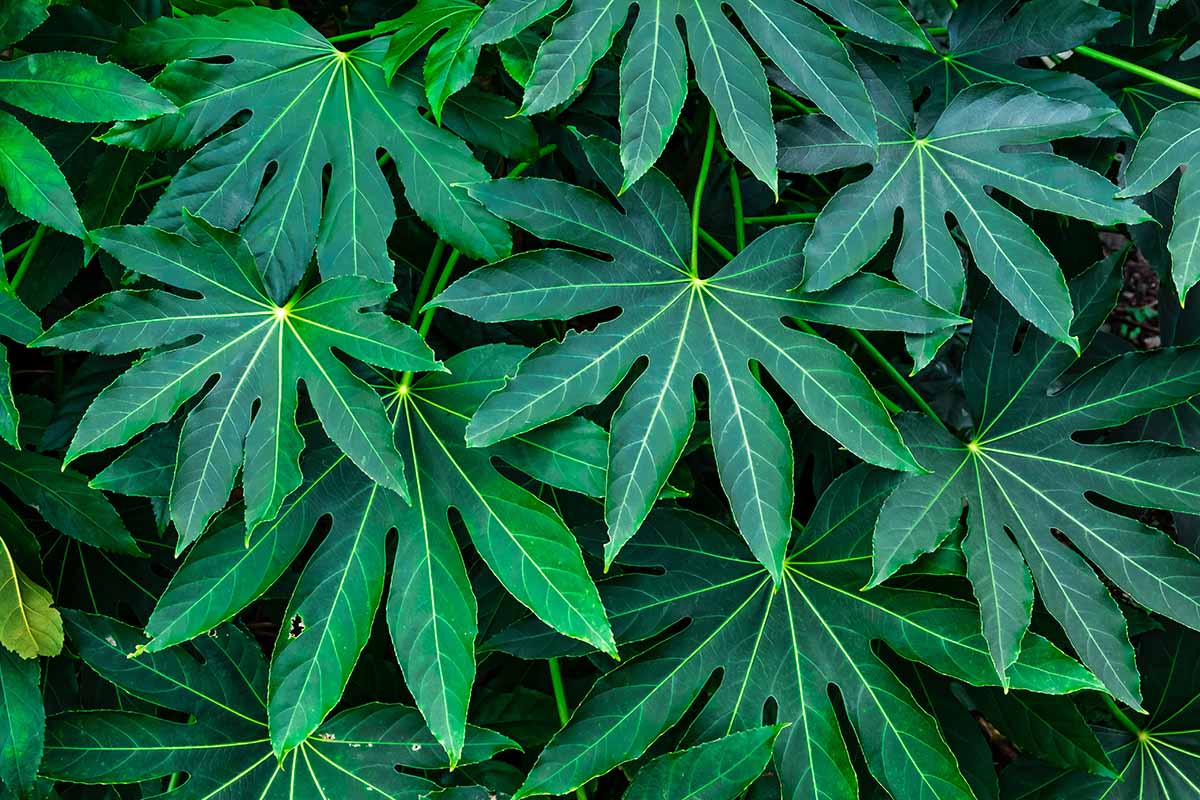
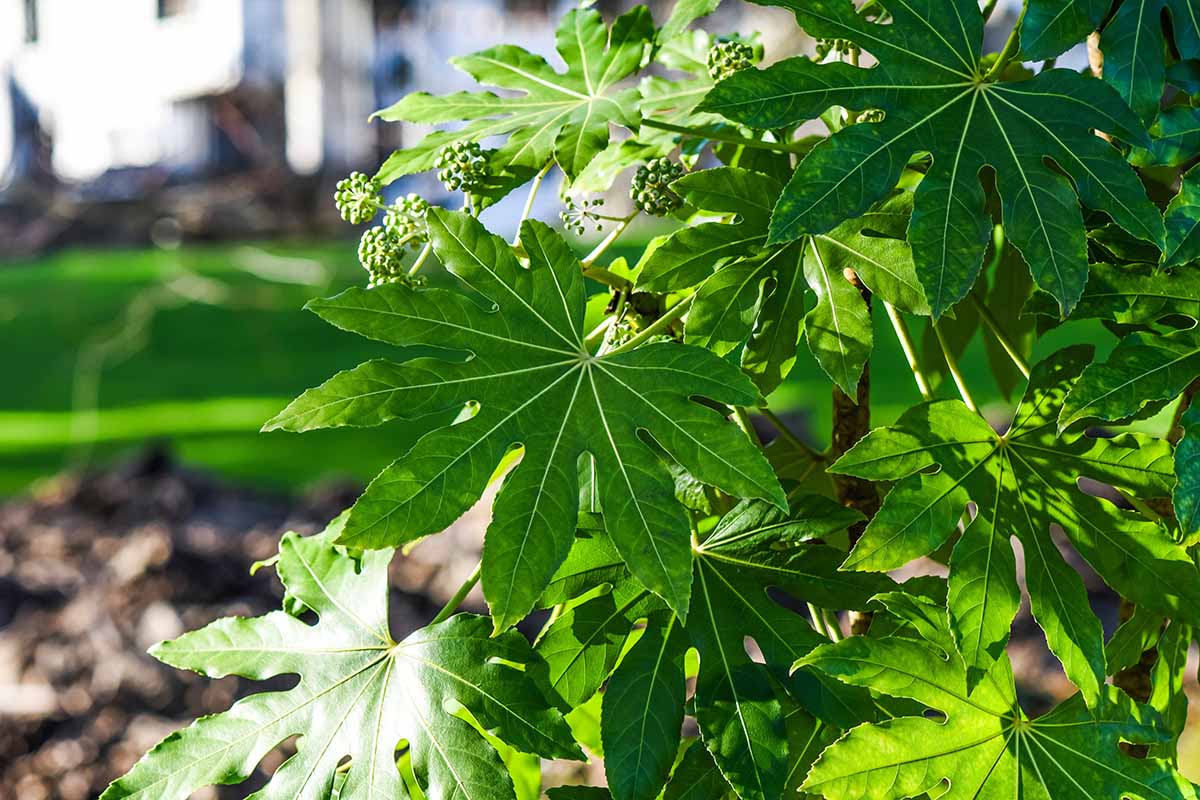
Also known as Japanese aralia and paperplant, fatsias (Fatsia japonica) are popular houseplants and as an added bonus they are easy to grow from seed – all you need is a few supplies and a healthy dose of patience!
We link to vendors to help you find relevant products. If you buy from one of our links, we may earn a commission.
If you’ve tried propagating Japanese aralia from seed before and failed, you may have skipped some important steps needed for germination.
In this article, you’ll learn how to propagate fatsia from seed in four easy steps.
Here’s a sneak peek at the process:
I recommend you read through the entire process first, as you have some options as to how to proceed.
And if you need general guidance on caring for these plants, be sure to read our complete guide to growing Japanese aralia as well!
1. Gather Your Supplies
Propagating long-lived houseplants in this manner isn’t that different from growing annuals indoors from seed.
Of course, the very first thing you’ll need for this project is to get your hands on some Japanese aralia seeds.
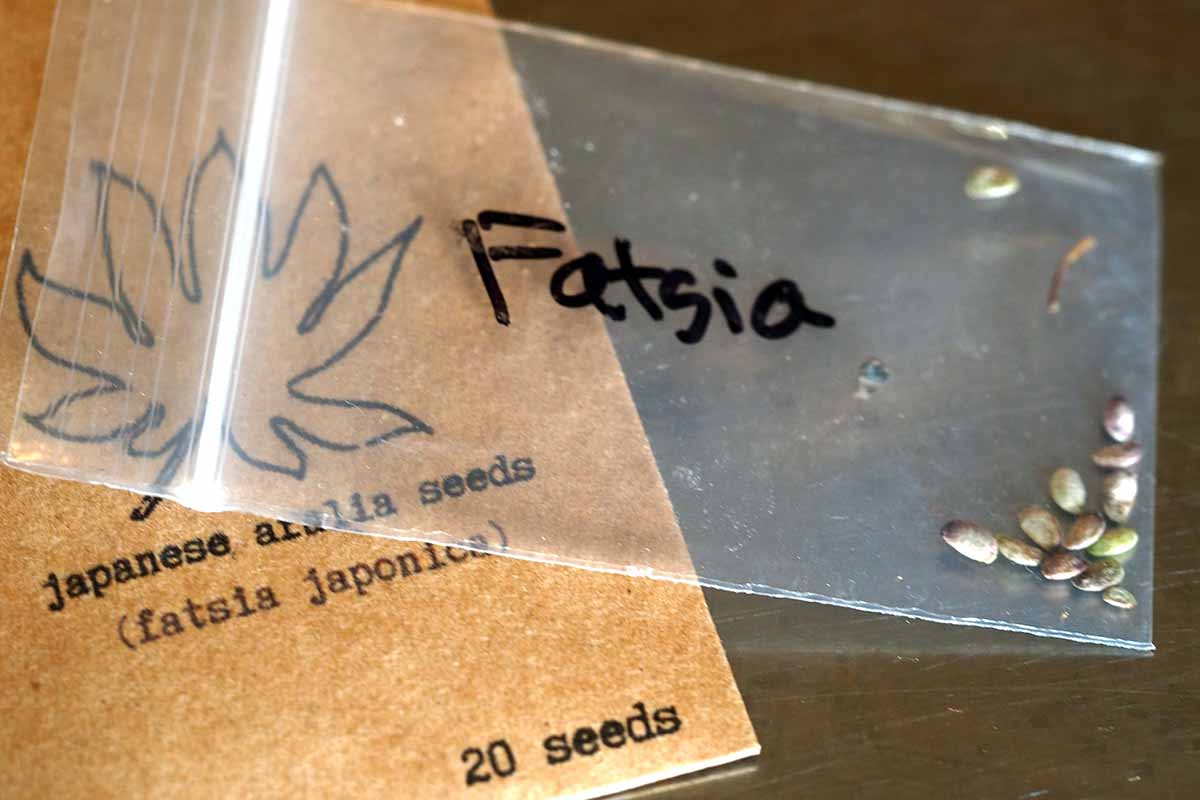
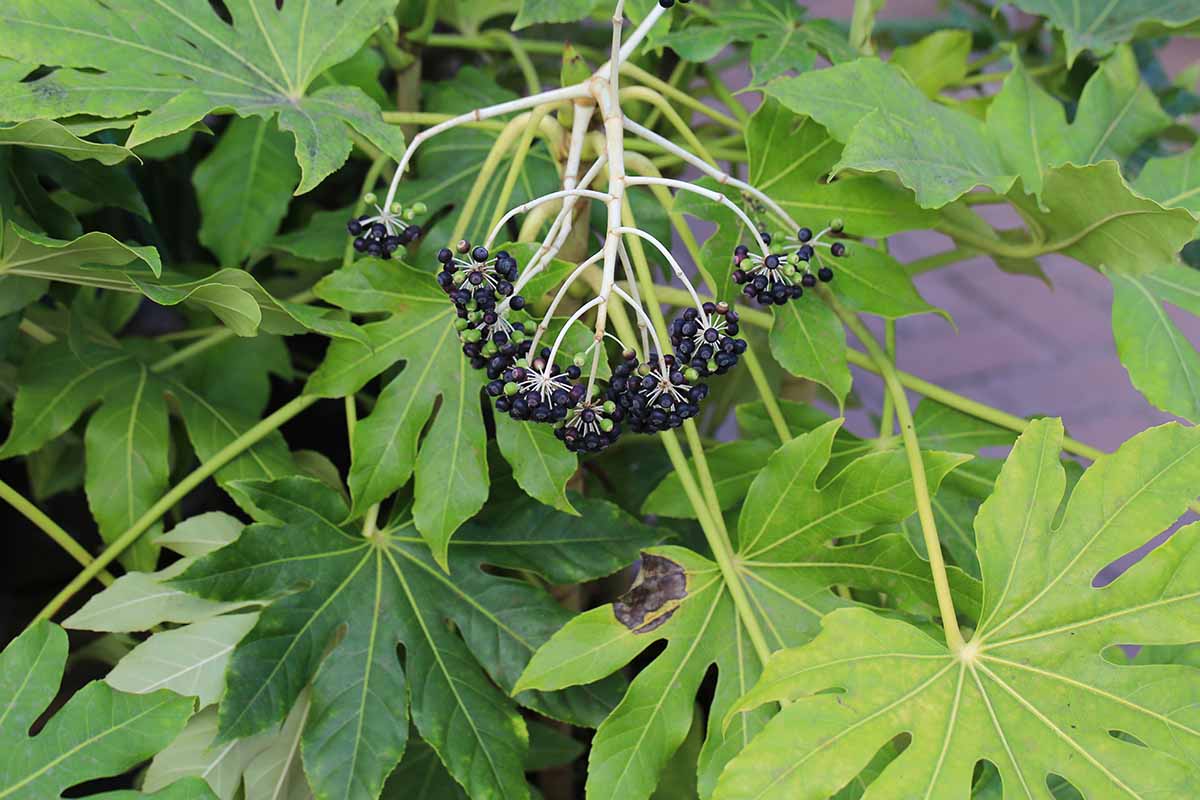
For best results, use fresh ones. Many people grow Japanese aralias as ornamental shrubs in their yards, so if a friend has one, why not ask if you can harvest some berries?
These shrubs produce flowers in fall, followed by berries in winter.
But if the only shrub in your area is in the yard of a stranger – make sure to ask permission first before picking any of the berries!
When harvesting berries, wait until they turn dark, almost black to make sure the paperplant kernels inside are mature.
When you’re ready to sow, remove the pulp surrounding the seeds, by squeezing the seed out of the ripe berry.
If you’re able to use fresh berries for this project, you’ll be starting the seeds in late winter or early spring.
If you don’t have a source for fresh berries, you can also buy fatsia seeds online, and start them at any time of the year. Either way be sure to sow more than you need, because not all will germinate.

Packs of 20 Paperplant Seeds
You’ll find packs of 20 Japanese aralia seeds from the CZGrain Store via Amazon.
For this propagation project, you’ll also need some growing medium.
Rather than using your regular potting soil, or – heaven forbid – unsterile soil from the ground outdoors, choose a seed starting mix, such as Rosy Soil’s Seedling Starter Soil Mix, available in an eight-quart bag via Amazon.

Rosy Soil Seedling Starter Soil Mix
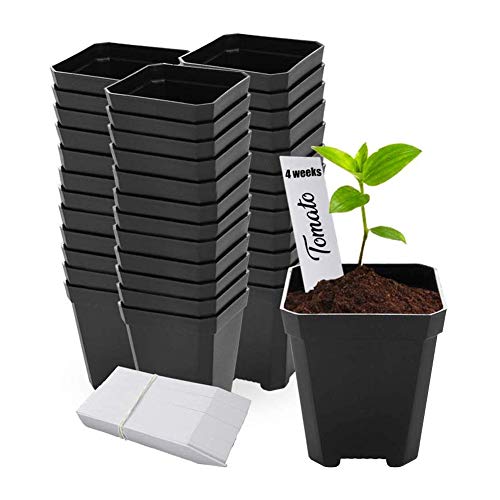
Next on your supply list is small nursery pots – those that are two to four inches are the right size.
Need a recommendation for nursery pots? I’m a fan of these plastic pots, which while not sold as reusable, have held up for several years of re-use on my farm and are still going strong:
Plastic Nursery Pots
Made from polypropylene plastic, these 2.75-inch pots are available in packs of 48, with or without humidity domes, from Comfecto via Amazon.
If you have old nursery pots you’d like to reuse, be sure to thoroughly wash them first, then sterilize them with hydrogen peroxide.
You’ll also need a spray bottle to water germinating seeds and young Japanese aralia seedlings – watering in this way will prevent the soil from becoming waterlogged.

Clear Glass Water Bottle
You can purchase a clear glass water bottle for seedling irrigation via Amazon.
In addition to the previous recommended supplies, you may also need a heat mat since Japanese aralia seeds need a soil temperature of around 80°F to germinate.

Jump Start Heat Mat
You can purchase a Jump Start Heat Mat in an assortment of sizes from the Hydrofarm Store via Amazon.
2. Soak the Seeds
Now that you have all your supplies gathered, we can get to the fun part!
First things first though. Japanese aralia seeds need to be soaked prior to sowing to help them germinate.
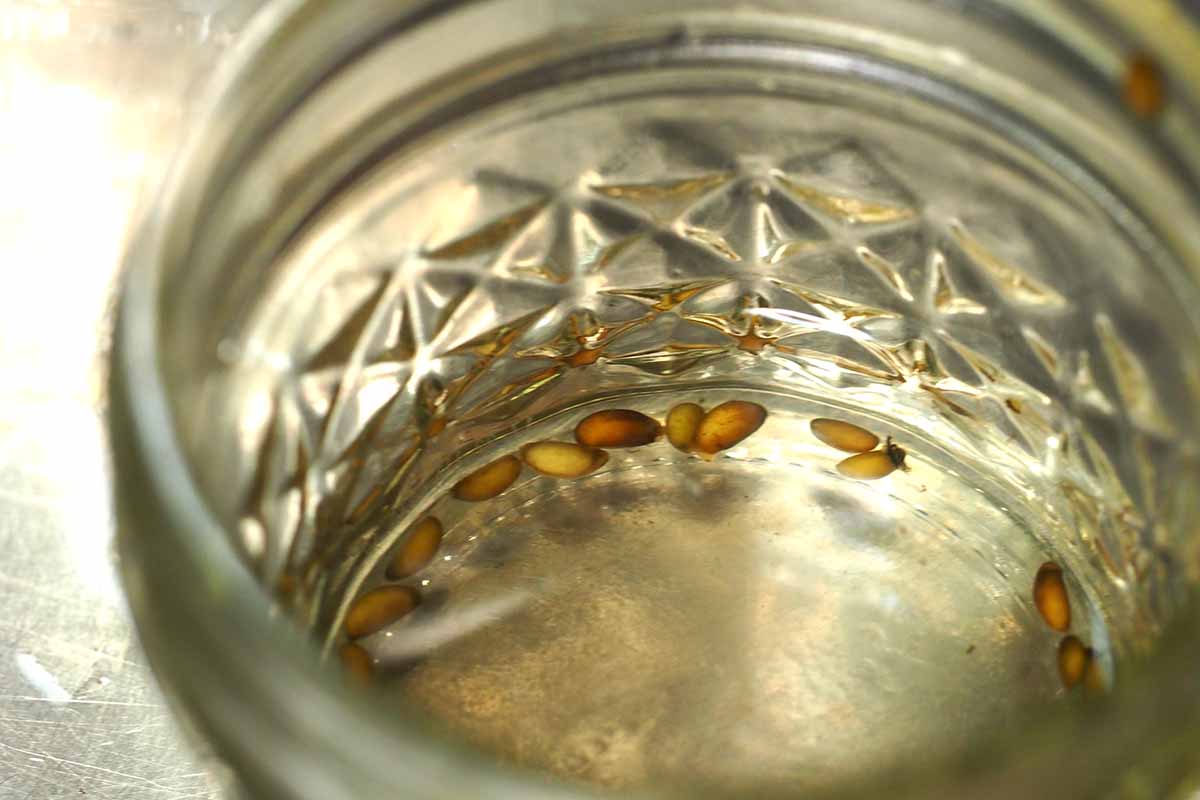
To do this, fill a small jar, bowl, or glass with a couple of inches of water, then add the fatsia seeds. Soak them for 24 hours.
After soaking, you can move on to the next step – germination.
3. Germinate
There are three different methods you can use to sprout your seeds: in paper towels, in propagation trays prior to potting, or directly in nursery pots.
We’ll go over the details for each of these methods, but first, there are two things these methods have in common – they all require bottom heat and indirect light.
Don’t place them in direct sun, which can kill young seedlings.
And no matter the method used, you’ll need to be patient – it can take up to eight weeks for seeds to sprout.
In Paper Towels
For this method you’ll need a paper towel (or a clean, thin cotton dish towel) and a sealable plastic bag or other sealable container.
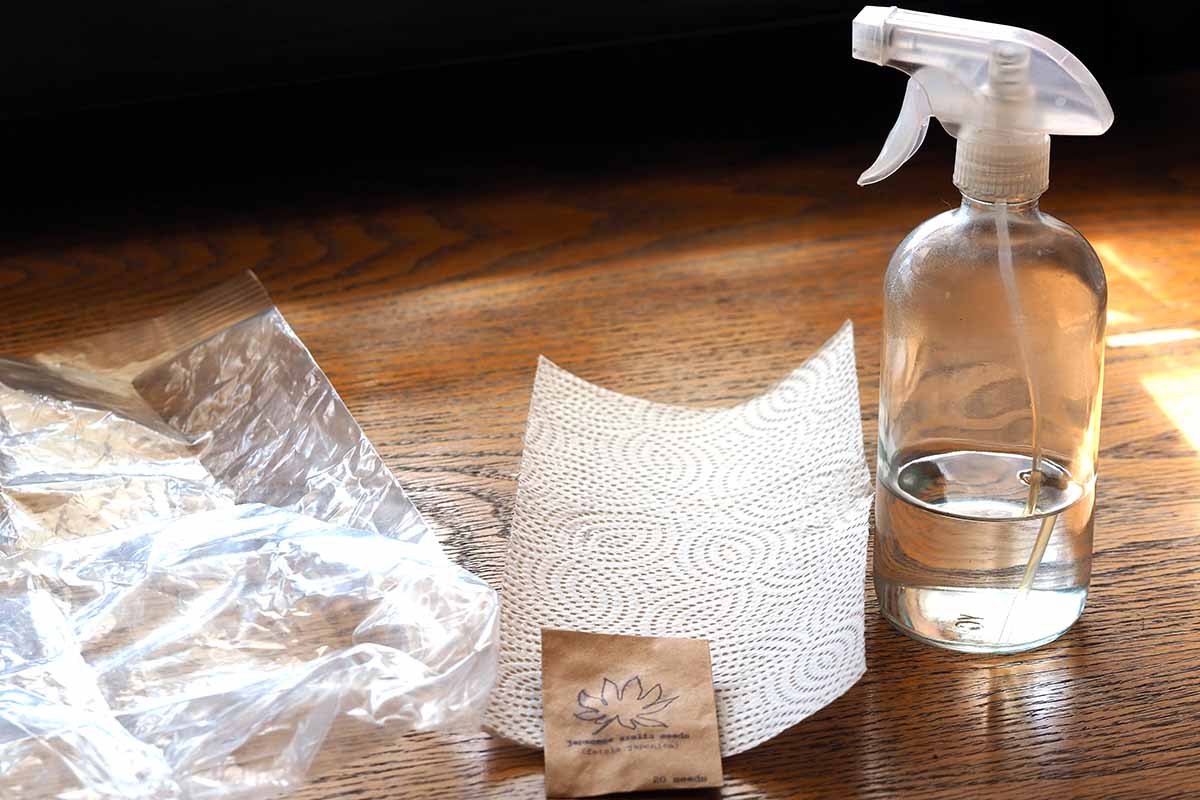
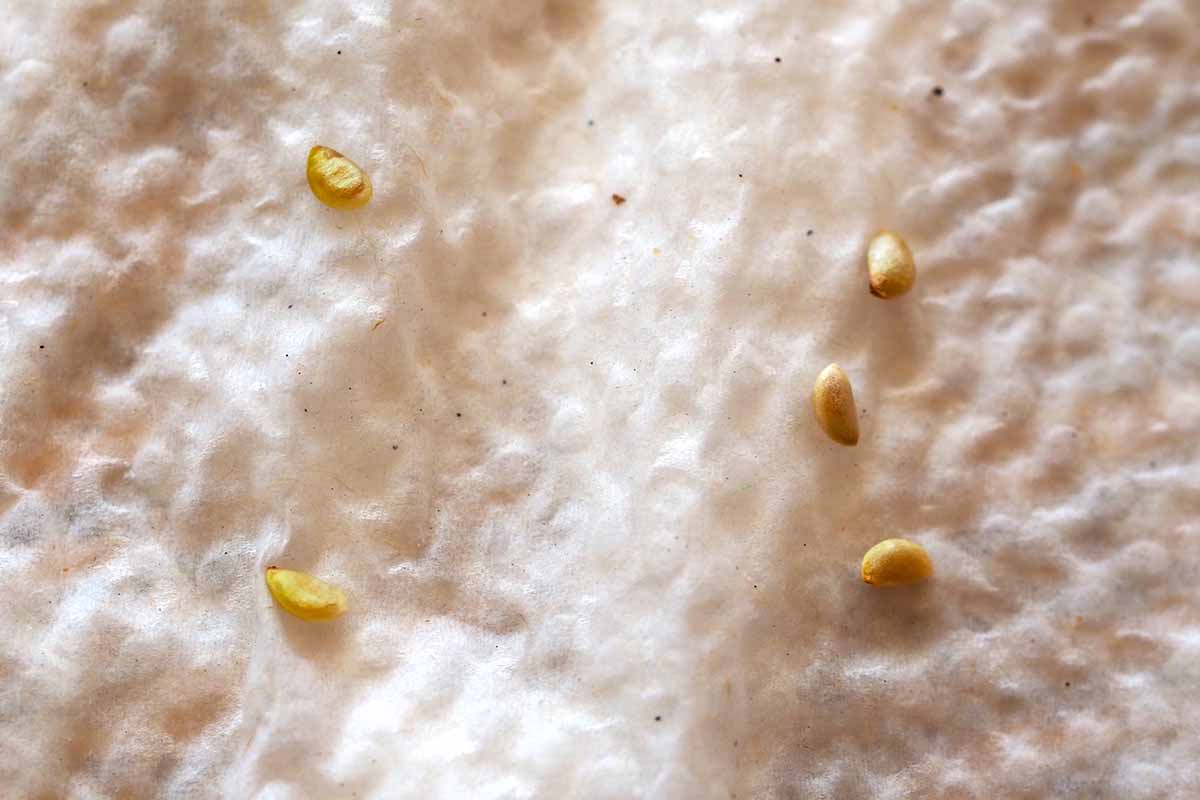
Moisten the paper towel and in one corner, spread out the fatsia seeds about a half an inch apart or more, then fold the paper towel in half, then in half again.
Place the paper towel into the sealable plastic bag, and place it in a warm location, such as on top of a fridge, or on a heat mat.
Check the paper towel every few days and give it a spritz of water to keep it moist if it starts to dry out.
Germination can take place after roughly two weeks, but some Japanese aralia seeds will be slower to sprout than others, so give them up to eight weeks.
Once the fatsia seedlings have sprouted, transplant them into nursery pots as discussed below.
In Trays
Some indoor gardeners like to propagate Japanese aralia seedlings in trays and then transplant them to nursery pots.
Since most propagation trays don’t have drainage holes, take care not to make the medium too wet – it should feel like a damp sponge.
Place the Japanese aralia seeds on the surface of the soil, one inch apart, then cover with a quarter of an inch of moist growing medium, and cover the tray with a humidity dome.
Put the tray in a location with bright, indirect light and bottom heat.
Check the medium every few days to make sure it’s staying moist, and expect seedlings to sprout within two to eight weeks.
Allow the seedlings to produce at least one true leaf before transplanting to a nursery pot.
In Nursery Pots
While some folks like the previous options for germinating Japanese aralia seeds, those do involve the extra step of transplanting germinated sprouts or seedlings to small nursery pots.
On the other hand, sowing directly into small nursery pots will save the step of transplanting sprouts or young seedlings since seedlings can live in these nursery pots for some time until they outgrow them.
For this method you’ll need growing medium, plastic bags or humidity domes, and small nursery pots, such as the ones recommended above in the supplies section.
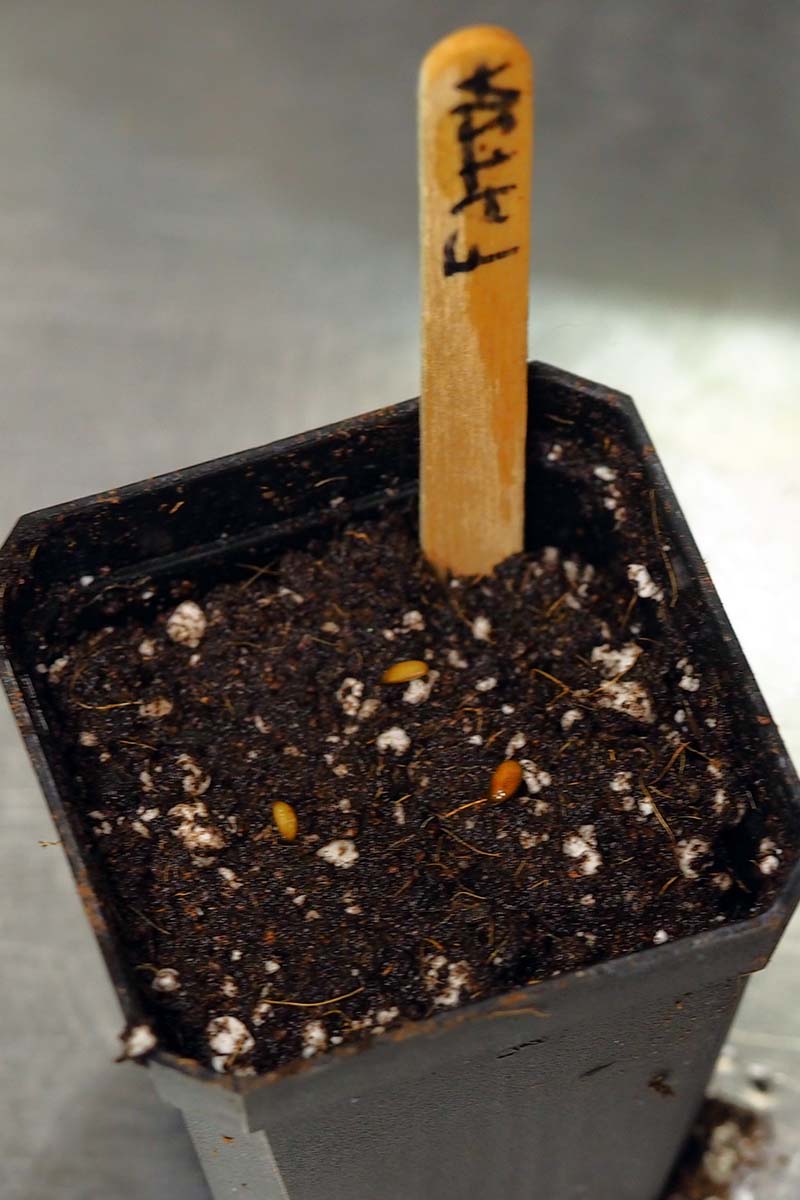
Fill the nursery pots most of the way with damp growing medium, leaving about an inch between the surface of the soil and the rim of the pot.
Place one to three Japanese aralia seeds on the surface of the soil, spacing them a half an inch apart. Cover with a quarter of an inch of moist growing medium.
These need warm, humid conditions – so if you have one available, you can start these seeds in a heated greenhouse.
If you don’t have a greenhouse in your backyard, you can create one inside your home by using a heat mat along with a humidity dome. Plastic bags can be used to cover nursery pots for the same effect.
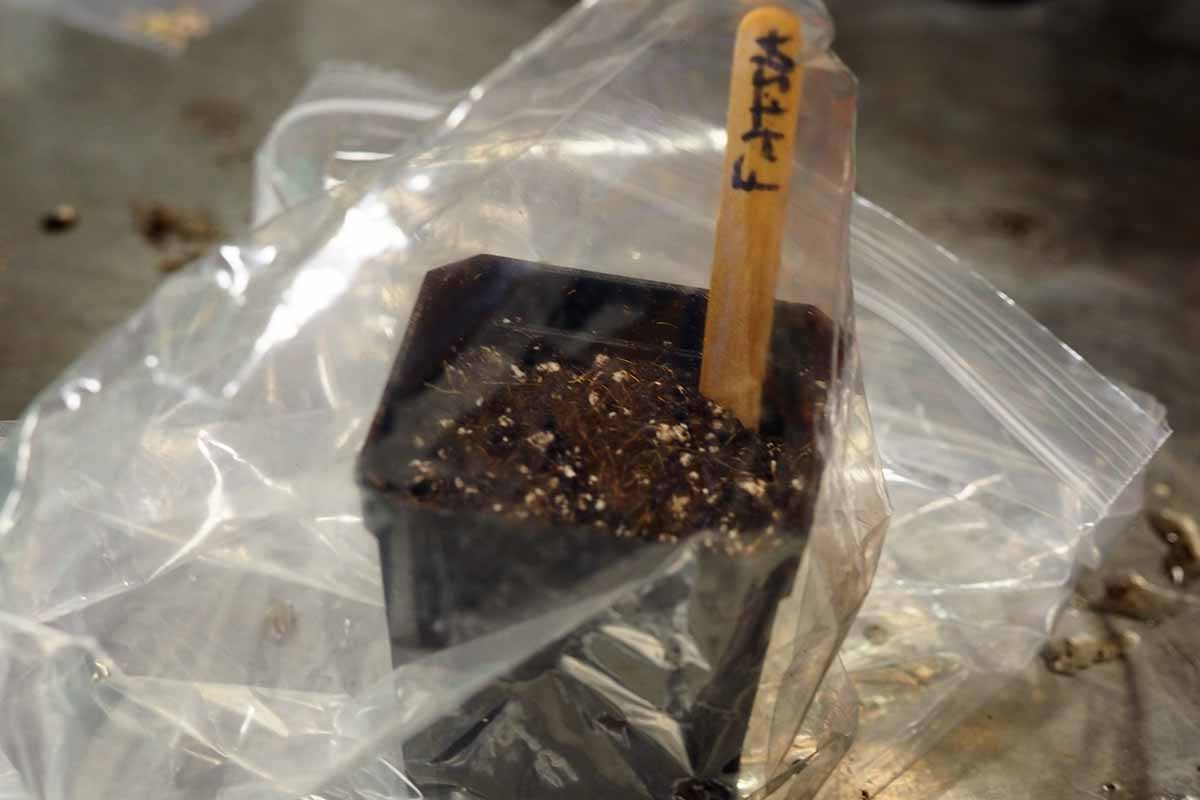
Place nursery pots in a warm location with bright, indirect light – and remember to use a heat mat if needed.
Keep the growing medium moist, watering with a spray bottle to avoid oversaturating the soil.
Expect germination in approximately two to eight weeks.
After seedlings emerge, keep the soil evenly moist.
Once the seedlings have a couple of true leaves, gradually start to habituate these young plants to less warm and humid conditions by removing the heat dome for increasing lengths of time every day, and reducing time with bottom heat.
4. Transplant
Before lifting sprouts from paper towels or seedlings from your propagation tray, prepare small nursery pots by filling them with moist growing medium to within a half inch to an inch of the rim.
Poke a hole in the growing medium in the center of each pot.
If you used the paper towel method for germination, carefully remove germinated sprouts from the paper towels using a toothpick or a pair of tweezers. It’s best to do this before the roots of the sprout become too enmeshed in the paper towel.
Transplant one Japanese aralia sprout per pot, placing it in the center of the pot, in the hole you poked, then cover the sprout with a fourth of an inch of growing medium.
If the sprout already has long roots and is starting to grow a stem, bury the roots with soil, but keep the stem uncovered.
Water gently with the spray bottle, then cover with a plastic bag and place the pots on a heat mat.
As for seedlings started in trays, allow them to produce at least one true leaf before gently transplanting them. You can lift them from their trays with the help of a small spoon.
Use the spoon to dig under the seedling far enough so you don’t damage its roots, then transfer to the nursery pot.
Seedlings relocated from propagation trays should be planted at the same level as they were previously growing, so take care not to bury the stem with soil.
Place these nursery pots in a warm location with indirect light and keep the growing medium moist, watering with the spray bottle.
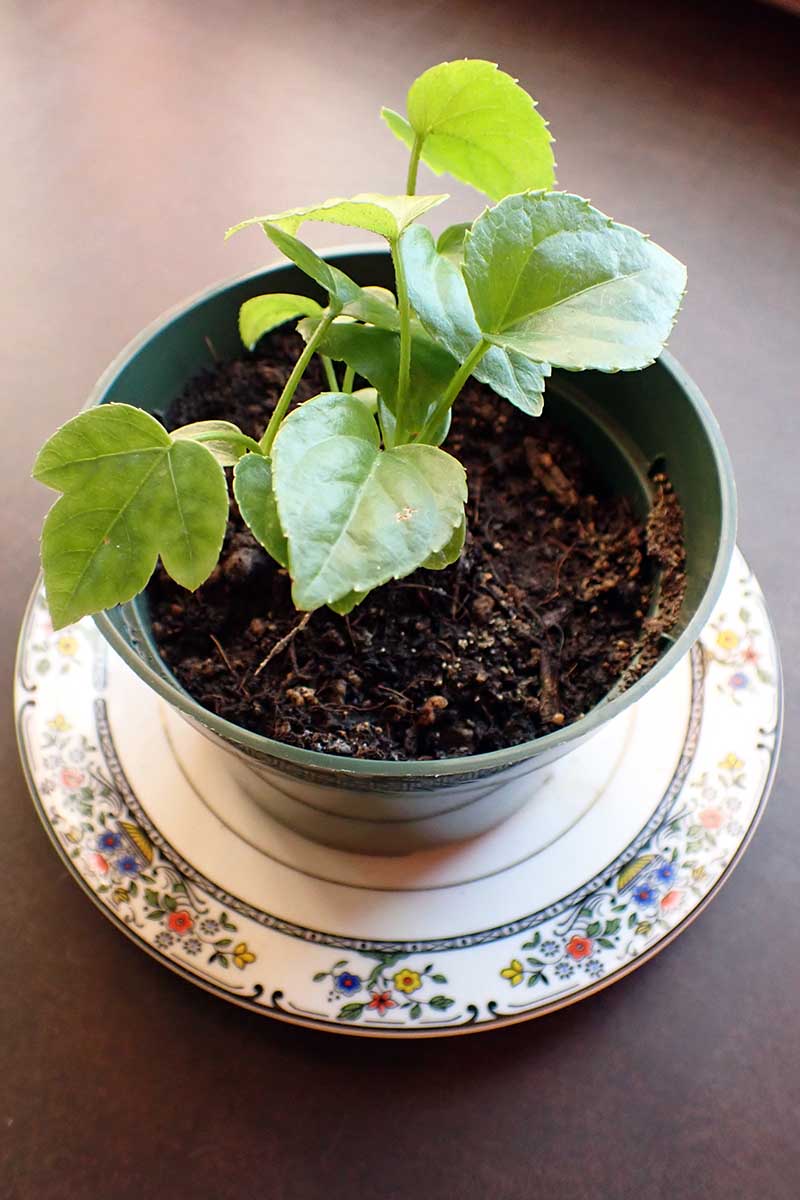
Once the Japanese aralia seedlings have a couple of true leaves, you can gradually remove the humidity dome and bottom heat, and start watering with a dedicated houseplant watering can.
Japanese aralias like to have a moist growing medium, so be sure to check these young plants at least twice a week – they may need to be watered more often without their humidity domes.
Young Japanese aralia plants can continue living in their small nursery pots until they outgrow them and at that point you can transfer them to larger containers.
You’ll know it’s time to repot when you have to water more than twice a week to prevent them from drying out or if you find roots emerging from the drainage holes or the top of the growing medium.
Get Ready for the Big Reveal
Congratulations, it’s a plant! It took some patience but now you have a new green baby fatsia or two to add to your houseplant collection.
Did you follow these four steps to propagate new fatsia specimens from seed? How did it go? Let us know in the comments section below! And be sure to show off photos of your Japanese aralia babies if you’d like!
If propagating houseplants makes you squeal with delight, here are a few more guides you might want to check out too: